Create a New Menu using Customizer
- Login to your Admin dashboard
- Go to Appearance > Customize> Menus
- Click on Create a New menu button

- Enter the name for your menu in Menu Name
- Select the location for your menu either Primary or Secondary (If you select a primary location then the menu will appear below logo. And if you select a Secondary location, then the menu will appear above logo )
- Click on Next

- Click on Add Items to add items such as pages, posts, categories, custom and so on to the Menu
- To add item on the list click on plus(+)icon
- Click on Reorder button to rearrange the items list
- Click on Add button to add other items in list
- Click Publish

Create Menu from Dashboard
- Login to your dashboard Admin
- Go to Appearance > Menus

- Click on create a new menu button
- Give a name to your menu in Menu Name and click the Create Menu button.

- Select the desired items from Pages, Posts, Custom link and Categories
- Click on Add to Menu
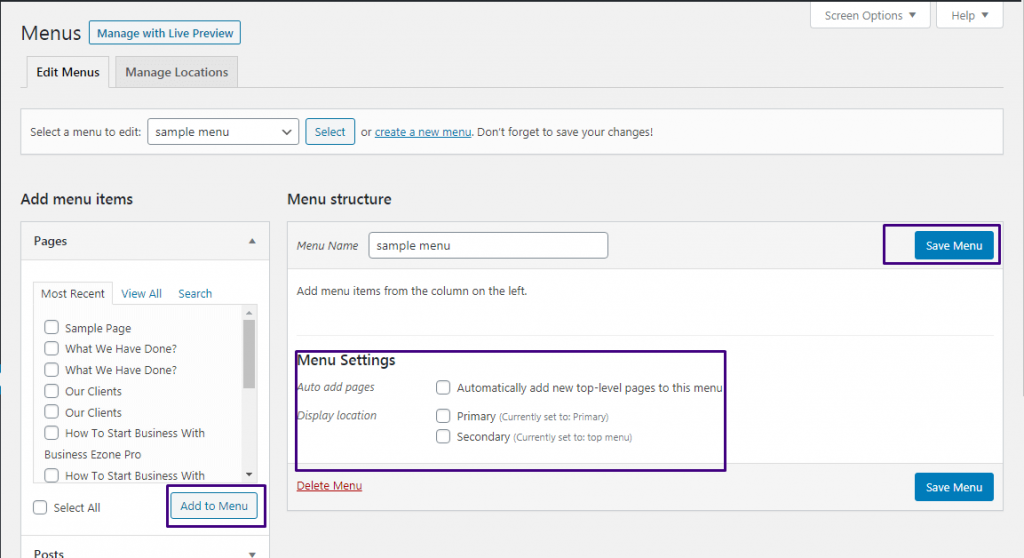
- Drag and drop on items to rearrange the items in list
- Check box with blue tick on desired location in Display location of Menu Settings
- Click on Save Menu