There are two methods for the Installation of Business Ezone Pro WordPress Theme. Among them, you can upload zipped theme file using WordPress Theme installer(which we recommend). You can also upload unzipped theme folder via FTP(which is advanced).
Here is the full step of installation of Business Ezone WordPress Theme using both methods.
First Method:
Step 1: Log In to your WordPress Theme and the Administrative Panel Opens.
Step 2: Go to Appearance > Themes in the WordPress Dashboard.

Step 3: Now click on Add Button

Step 4: Click on Upload button

Step 5: After that Click on Choose File Button

Step 6: Select the Business Ezone Pro WordPress Theme.zip file from your computer then Click on Upload Button.
step 7: Finally, Click on Install Now Button.
Second method:
Step 1: First Unzip the “Business Ezone Pro WordPress Theme.zip” file from your computer.
Step 2: To access your host web server Log In by using FTP Client.
Step 3: Locate the wp-content folder in your WordPress installation files.
Step 4: Upload the un-zipped Business Ezone Pro WordPress Theme into the:wp-content/folder.
For more information about installation of the theme using FTP visit:
http://codex.wordpress.org/Using_Themes#Adding_New_Themes
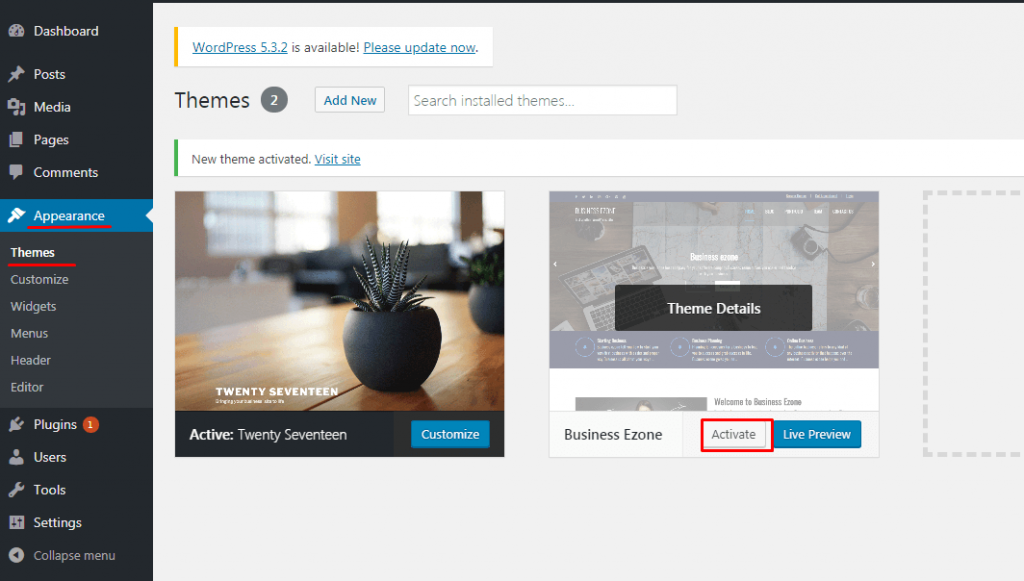
After installation, you need to activate theme. You need to perform instructions given below:
Step 1: Go to Appearance > Theme in the WordPress menu.
Step 2: Finally, Hover over the thumbnail and click on Activate Button.